Ubuntu 24.04 LTS (Noble Numbat) is the reference install for millions of Linux desktops, cloud instances, and homelab VMs. Long-term support through 2029, broad hardware compatibility, and predictable apt workflows make it the safest first install when you need a machine that stays stable while you learn containers, SSH, and systemd.
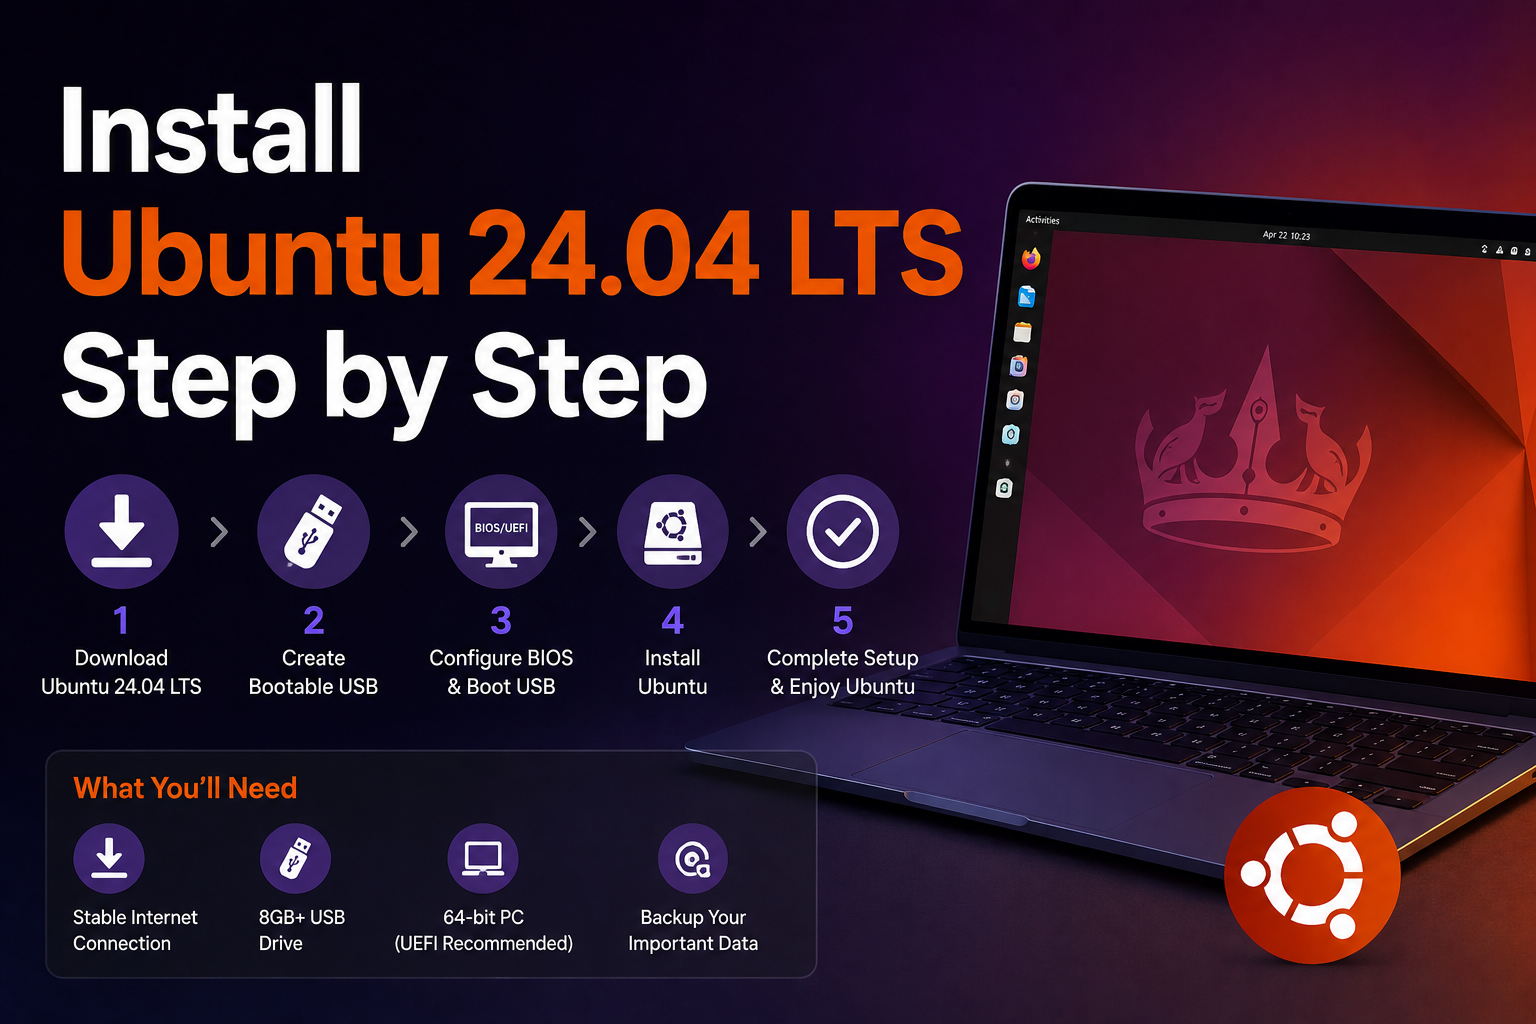
This guide walks through creating boot media, BIOS/UEFI settings, partitioning strategies (including dual-boot), the graphical installer, and a post-install checklist developers and homelab builders should not skip.
Before you begin
Download the correct ISO. Get Ubuntu Desktop 24.04 LTS from the official site. Verify the SHA256 checksum:
# Linux/macOS
sha256sum ubuntu-24.04-desktop-amd64.iso

# Windows PowerShell
Get-FileHash .\ubuntu-24.04-desktop-amd64.iso -Algorithm SHA256
Prepare a USB drive (8 GB minimum, 16 GB recommended). All data on the stick will be erased.
Back up existing data if replacing Windows or resizing partitions. Note BitLocker status on Windows machines—decrypt or suspend BitLocker before partition changes.
Gather network access. Ethernet simplifies first boot if Wi-Fi firmware is missing; most installs still succeed over Wi-Fi after driver setup.
Know your goal:
- Single OS: Simplest path; use whole disk encryption if on a laptop.
- Dual-boot: Free space required; see our dual-boot guide for partition order pitfalls.
- VM/homelab: 25 GB disk minimum for desktop comfort; 2 GB RAM minimum, 4 GB+ preferred.
Create bootable installation media
On Windows (Rufus)
- Insert USB drive; launch Rufus.
- Select the Ubuntu ISO.
- Partition scheme: GPT for UEFI systems (most PCs from ~2015 onward).
- File system: FAT32.
- Write mode: prefer DD mode if offered for Ubuntu ISOs.
- Start; wait for completion; safely eject.
On Linux
# Replace sdX with your USB device — NOT sdX1
lsblk
sudo dd if=ubuntu-24.04-desktop-amd64.iso of=/dev/sdX bs=4M status=progress oflag=sync
sudo eject /dev/sdX
On macOS
Use balenaEtcher or dd with /dev/diskN identified via diskutil list.
Firmware and boot settings
Enter UEFI firmware (Del, F2, F12, Esc—varies by vendor):
- Disable Fast Boot if USB boot is unreliable.
- Enable UEFI boot; avoid Legacy-only if possible.
- Secure Boot: Ubuntu generally supports Secure Boot with signed kernels. If third-party NVIDIA modules fail later, you may revisit this setting.
- Intel RST / Optane: Some laptops require switching storage mode to AHCI/NVMe in firmware before Linux sees the disk.
Boot the USB via one-time boot menu (often F12) or by reordering boot priorities.
Installer walkthrough
- Try or Install Ubuntu. "Try Ubuntu" validates display, keyboard, and network before committing.
- Language, keyboard, connectivity. Connect to network early to download updates during install.
- Updates and other software. Check Download updates while installing Ubuntu and Install third-party software for codecs and common proprietary drivers (Wi-Fi, graphics).
- Installation type:
- Erase disk and install Ubuntu — clean install; optionally enable encryption.
- Install Ubuntu alongside Windows — automated dual-boot if unallocated space exists.
- Something else — manual partitioning (recommended for dual-boot control).
- Manual partitioning sketch (UEFI):
| Mount point | Type | Size guidance |
|---|---|---|
| EFI System Partition | EFI | Use existing or 512 MB FAT32 at /boot/efi |
/ |
ext4 | 50–100 GB+ for desktop/dev |
/home |
ext4 | Remaining space (optional but migration-friendly) |
| swap | swap or swapfile | 8–16 GB or rely on zswap; hibernation needs swap ≈ RAM |
- Timezone and user account. Use a strong password; enable Log in automatically only on non-portable lab VMs.
- Wait for file copy; remove USB when prompted; reboot.
First boot and post-install essentials
Log in and apply updates immediately:
sudo apt update
sudo apt full-upgrade -y
sudo reboot
Install baseline development and troubleshooting tools:
sudo apt install -y build-essential git curl wget unzip htop neofetch tmux net-tools dnsutils
Enable Livepatch (optional) for kernel patches without reboot on LTS—reasonable for workstations, less critical for disposable VMs.
NVIDIA and hybrid graphics
Open Software & Updates → Additional Drivers. Select the tested proprietary driver if you need CUDA, Steam performance, or stable multi-monitor on RTX cards. Reboot after changes.
nvidia-smi # verify after proprietary driver install
Snap vs Flatpak awareness
Ubuntu ships Snap for some apps. For broader community packaging:
sudo apt install gnome-software-plugin-flatpak
flatpak remote-add --if-not-exists flathub https://flathub.org/repo/flathub.flatpakrepo
SSH server (homelab remote access)
sudo apt install openssh-server
sudo systemctl enable --now ssh
sudo ufw allow OpenSSH
sudo ufw enable
Use key-based auth; disable password login after keys work.
Automatic updates
Enable unattended security updates on internet-facing or always-on nodes:
sudo apt install unattended-upgrades
sudo dpkg-reconfigure -plow unattended-upgrades
Recommended quality-of-life settings
- Fractional scaling on HiDPI laptops: Settings → Displays.
- Night Light and power profiles for laptops.
- Timeshift (install from repos or PPA) for BTRFS or RSYNC snapshots before major changes.
- GNOME Tweaks (
sudo apt install gnome-tweaks) for window management preferences.
Full-disk encryption (LUKS)
On laptops, enable Encrypt the new Ubuntu installation for security during the graphical installer. You will set a passphrase separate from your user password—store it in a password manager or sealed envelope. LUKS encrypts the entire root partition; boot requires unlocking before GRUB hands off to the OS.
Recovery implications: forgetting the LUKS passphrase is unrecoverable without backups. Dual-boot setups with encryption require careful partition planning—Windows BitLocker and Linux LUKS coexist fine on separate partitions but increase firmware boot complexity.
For homelab VMs, LUKS is optional; hypervisor-level encryption or host disk encryption may suffice. Bare-metal servers in untrusted locations benefit from LUKS plus TPM-bound keys on supported hardware (advanced, distro-specific).
VM and cloud template notes
Ubuntu 24.04 cloud images support cloud-init for headless provisioning:
# Example: query metadata on cloud instances
cloud-init status
sudo cat /var/log/cloud-init.log
When building Proxmox or VMware templates, generalize the machine ID before snapshotting:
sudo truncate -s 0 /etc/machine-id
sudo rm /var/lib/dbus/machine-id
sudo ln -s /etc/machine-id /var/lib/dbus/machine-id
Document template versions—stale templates missing HWE kernels cause GPU passthrough headaches months later.
Day-one hardening checklist
Beyond package updates, treat new installs like small servers:
- Create a non-admin daily user if you installed as single user (already done in installer).
- Configure UFW: deny incoming except SSH and required services.
- Disable root SSH login after keys work.
- Install
fail2banon internet-exposed SSH hosts. - Enable automatic security updates.
- Subscribe to Ubuntu security notices for critical CVEs affecting your stack.
sudo apt install fail2ban
sudo systemctl enable --now fail2ban
sudo fail2ban-client status sshd
Troubleshooting
Boot lands in initramfs / busybox. Often filesystem errors or missing initramfs after kernel updates:
# From live USB, chroot and update initramfs
sudo mount /dev/sdXY /mnt
sudo mount /dev/sdX1 /mnt/boot/efi  # if separate ESP
sudo chroot /mnt
update-initramfs -u -k all
update-grub
Secure Boot + NVIDIA failures. Enroll MOK when installer prompts, or temporarily disable Secure Boot.
Wi-Fi not listed. Connect via Ethernet; install drivers via Additional Drivers or firmware packages (linux-firmware updates).
Dual-boot drops Windows Boot Manager. Ubuntu's GRUB usually detects Windows. If not:
sudo update-grub
sudo apt install os-prober
Ensure /etc/default/grub has GRUB_DISABLE_OS_PROBER=false on newer Ubuntu versions.
Slow boot after install. Disable unnecessary startup apps; check systemd-analyze blame and systemd-analyze critical-chain.
Installer hangs at "Getting ready" or partitioning. Verify disk health; turn off RST; try "Something else" manual layout.
Key takeaways
- Verify ISO checksums and use UEFI-aware media creation to avoid unbootable sticks.
- Enable third-party drivers during install when offered; saves hours on NVIDIA and some Wi-Fi chips.
- Separate
/homeif you expect distro experiments or in-place upgrades later. - Run
full-upgradeon first boot and establish backups before layering Docker, NVIDIA CUDA, or PPAs. - Ubuntu 24.04 LTS is a multi-year platform—treat post-install hardening (SSH keys, updates, firewall) as day-one work, not an afterthought.
FAQ
Desktop vs Server ISO?
Desktop for GUI workstations; Server for headless homelab with no desktop overhead.
Can I upgrade 22.04 to 24.04 in place?
Yes via do-release-upgrade when prompted on LTS; fresh installs are cleaner for beginners.
How much disk space?
50 GB minimum for comfortable desktop dev; 100 GB+ if gaming or large container images.
Should I encrypt the whole disk?
Yes on laptops; remember recovery passphrase storage.