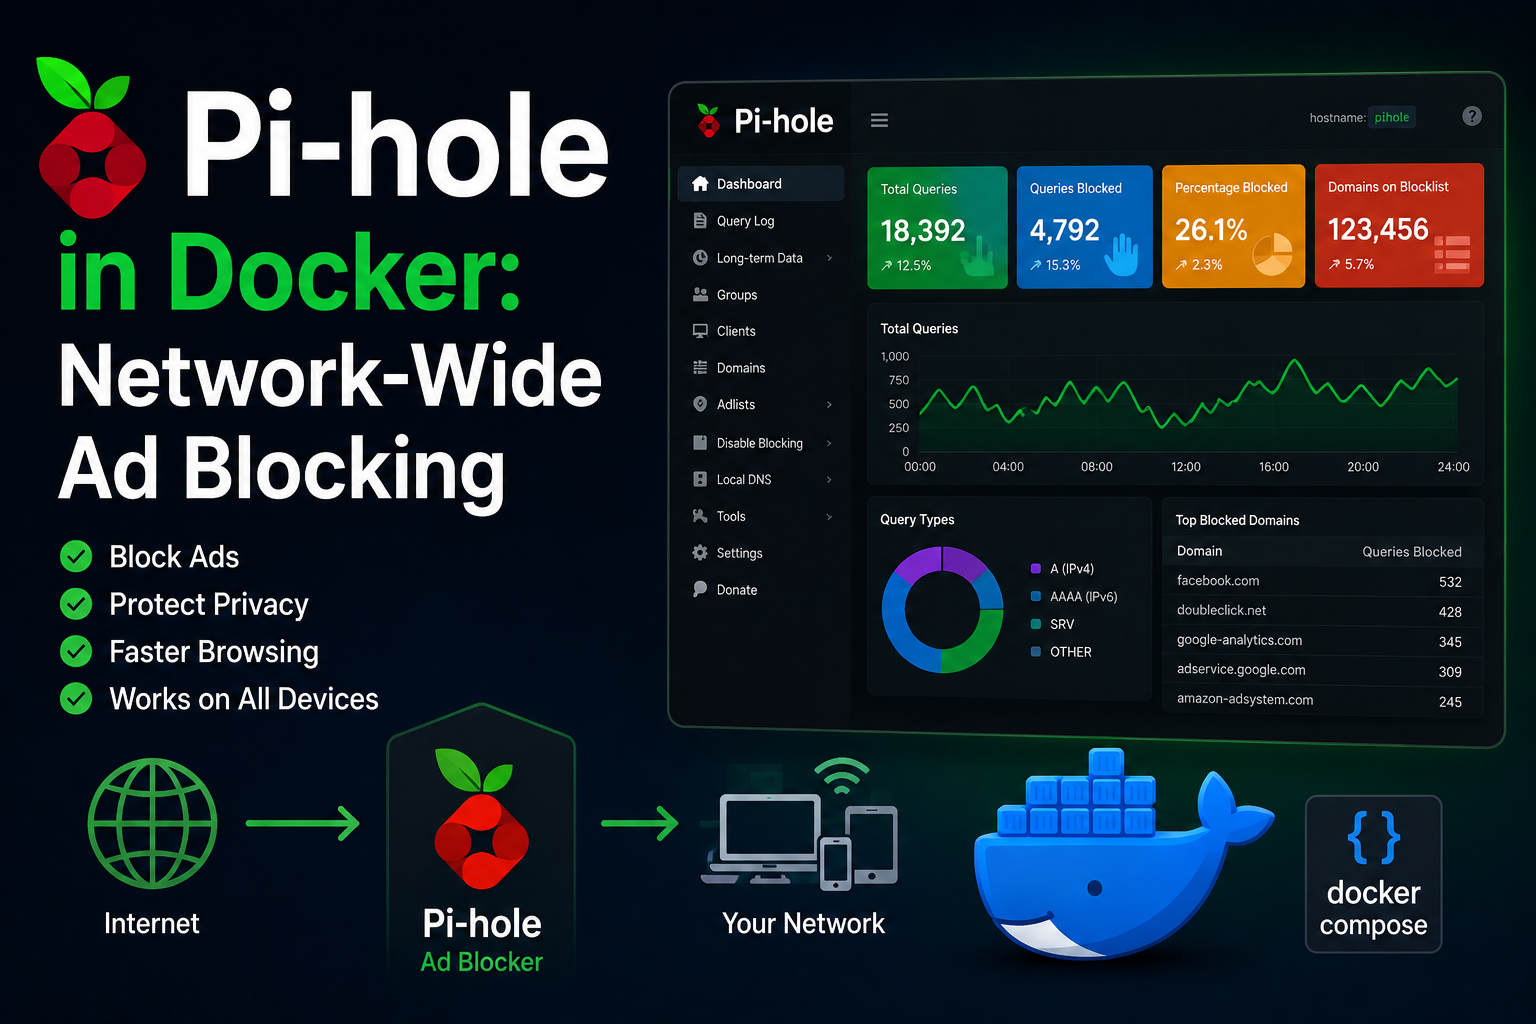
Pi-hole shifts ad and tracker blocking from individual browser extensions to the DNS layer, so every device on your LAN—phones, TVs, IoT—benefits without per-app configuration. Running Pi-hole in Docker fits homelabs that already standardize on Compose but introduces nuances around port 53, DHCP integration, and IPv6. This guide explains a reliable Docker deployment, router DNS cutover, security considerations, backups, and troubleshooting when sites break.
Prerequisites
You need a always-on host with a stable LAN IP—preferably a static DHCP reservation so the router always points DNS to the same address. Docker and Compose v2 are required. Understand that only one service can bind UDP/TCP port 53 on a given host IP unless you use macvlan/ipvlan or host networking creatively. Plan upstream DNS resolvers (Cloudflare, Quad9, your ISP) and whether you want unencrypted DNS upstream or DNS-over-HTTPS via Pi-hole’s optional features. Document your router admin credentials; you will change DHCP settings there.
Deployment models
Homelab operators choose among three patterns:
- Host network mode — simplest for port 53 on the Docker host itself; Pi-hole behaves like a native install.
- Published ports — map
53:53/tcp/udpand the admin UI port explicitly; works when nothing else occupies 53 on the host. - Macvlan/ipvlan — gives the container its own LAN IP, ideal when the Docker host cannot own port 53.
For most single-node homelabs, host network or published 53 on a dedicated Pi-hole machine is clearest.
Docker Compose example (published ports)
services:
  pihole:
    image: pihole/pihole:latest
    container_name: pihole
    restart: unless-stopped
    environment:
      TZ: America/New_York
      WEBPASSWORD: ${PIHOLE_PASSWORD}
      FTLCONF_LOCAL_IPV4: 192.168.1.53
    ports:
      - "53:53/tcp"
      - "53:53/udp"
      - "8080:80/tcp"
    volumes:
      - ./etc-pihole:/etc/pihole
      - ./etc-dnsmasq.d:/etc/dnsmasq.d
    cap_add:
      - NET_ADMIN
    dns:
      - 127.0.0.1
      - 1.1.1.1
Set FTLCONF_LOCAL_IPV4 to the host’s LAN IP clients will use. If port 53 is taken by systemd-resolved, disable stub listening on Ubuntu (/etc/systemd/resolved.conf) or run Pi-hole on a dedicated VM. Access the UI at http://<host>:8080/admin.
Pointing the network at Pi-hole
Log into your router and set DHCP DNS server to the Pi-hole IP—often “DNS Server 1” with secondary blank or a public resolver only if you accept bypass risk. Renew leases on clients (dhclient -r on Linux, toggle airplane mode on phones). Verify with nslookup doubleclick.net from a laptop; blocked domains return 0.0.0.0 or Pi-hole’s block page depending on mode. Keep one emergency upstream configured inside Pi-hole in case lists break your banking site—use whitelists, not disabling Pi-hole globally.
List curation and performance
Default blocklists vary; homelab veterans often start with Steven Black aggregated lists and trim for false positives. More lists ≠ better experience—each query hits more regex checks. Update gravity weekly via cron (pihole -g) during low-usage hours. Local DNS records (local.list) map hostnames to LAN IPs without editing /etc/hosts on every laptop—document nas.local, proxmox.local, etc. Conditional forwarding sends *.lan queries to your internal authoritative DNS if you run one. Monitor FTL memory in the dashboard; Raspberry Pi 3 tier hardware struggles beyond ~1M domains—consider a small x86 box for busy networks.
DHCP versus static IP
Pi-hole must keep a stable IP. Router DHCP reservation by MAC is preferred over static IP inside the container without matching router config—otherwise DHCP may hand the same IP to a phone and break DNS for the whole house. If you run Pi-hole on a VM, note the hypervisor host’s own DNS settings during maintenance boots.
Reverse proxy context
The admin UI should not be exposed to the internet without authentication and TLS. If you must reach it remotely, put it behind VPN (WireGuard, Tailscale) or a reverse proxy with access lists and HTTP basic auth in addition to Pi-hole’s password. Never port-forward DNS (port 53) to the public internet; you would become an open resolver. For HTTPS admin locally, terminate TLS on Nginx and proxy to port 80 with restricted source IPs.
Security notes
Pi-hole is powerful: it sees every DNS query on your network. Protect the admin password; rotate WEBPASSWORD via environment or pihole -a -p. Keep the image updated for FTL and PHP patches. Curate blocklists—massive community lists increase false positives and memory use. Treat Pi-hole as infrastructure: limit who can change DNS settings on the router. If using DoH upstream, understand you are trusting that provider. Disable arbitrary CGI features you do not use.
Backup strategy
All state lives in ./etc-pihole and custom dnsmasq snippets. Back them up nightly:
docker compose stop pihole
restic backup ./etc-pihole ./etc-dnsmasq.d --tag pihole
docker compose start pihole
Export your Local DNS records and CNAMEs periodically via the UI or Teleporter backup feature. After restore, confirm gravity lists rebuilt (pihole -g). Document custom whitelists—they are household-specific knowledge.
Troubleshooting
No internet after enabling Pi-hole: upstream DNS misconfigured or port 53 conflict; check docker logs pihole and router DNS entries. Some devices bypass Pi-hole: IPv6 still using ISP DNS—either configure IPv6 DNS to Pi-hole or disable IPv6 on LAN until consistent. Site broken: whitelist the exact domain from Query Log, not the registrar’s root domain only. Slow DNS: huge blocklists or underpowered hardware; reduce lists or move to a faster host. Container cannot bind 53: another process owns it—ss -lntp | grep :53. Query log empty: clients not using Pi-hole DNS—verify DHCP lease DNS field. Gravity update fails: disk full on container volume or DNS blocked upstream.
Integrating with Unbound or AdGuard
Advanced homelabs chain Pi-hole → Unbound for recursive DNS without forwarding to Google—reduces third-party leakage. AdGuard Home is an alternative with different UI; migration means exporting custom lists and DHCP cutover weekend. Pick one network DNS sink—two competing blockers confuse troubleshooting.
Guest Wi-Fi and IoT VLANs
Point guest SSID DNS at Pi-hole too if you want ad blocking for guests, or bypass Pi-hole for captive portal simplicity. IoT VLANs using Pi-hole need firewall rules allowing UDP/TCP 53 from IoT subnet to Pi-hole IP—blocked DNS looks like “Wi-Fi broken.” Log queries during smart plug setup to whitelist vendor telemetry domains selectively.
Query logging and privacy
Query logs help debug false positives but are sensitive—URLs and device names reveal household habits. Set retention in Pi-hole settings to 24–72 hours for homelab balance. Export logs only when troubleshooting. If GDPR-style concerns matter, disable long-term logging and rely on aggregated statistics. Teleporter backup includes lists and settings—schedule monthly downloads to NAS.
High availability (realistic expectations)
Pi-hole is a single point of failure for DNS when the whole LAN points at it. Secondary Pi-hole with DHCP offering two DNS servers is the classic fix—Docker on two hosts or Pi + x86. Keep lists synchronized via Teleporter or git-managed custom lists. A dead Pi-hole with no secondary means “internet is broken” to family—worth the second instance. Schedule gravity updates during low-traffic windows and watch FTL memory after adding large blocklists—stability beats maximum block count. Export Teleporter backups after major whitelist changes so you can restore household-approved exceptions quickly after rebuilds or hardware swaps.
Key takeaways
Pi-hole in Docker is excellent homelab hygiene when port 53 ownership is planned deliberately. Router DHCP DNS is the real deployment; the container is half the work. Never expose DNS to the WAN. Backup etc-pihole, maintain whitelists pragmatically, and treat IPv6 as a first-class decision so blocking is not silently bypassed.